Scan LAN en CMD
Scanning for IP address lets you have better control over your network.
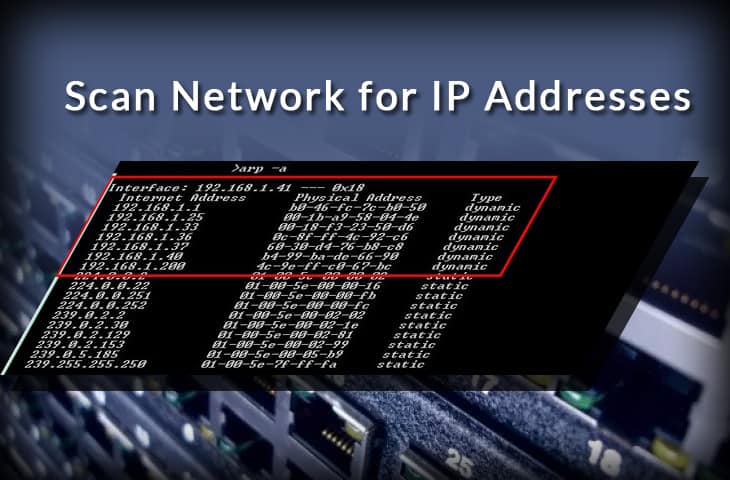
With 1-2 commands, you can quickly map out the devices in your network and the IP addresses that they are using.
But to understand how to scan a network, first, you need to understand how are IP addresses assigned.
Follow these four simple steps to scan your network for IP addresses in use:
|
DHCP (Assigning IPs Dynamically)
An automated process in networking, called DHCP (Dynamic Host Configuration Protocol), assigns IP dynamic addresses to hosts as soon as they enter the network. In a home or small network, the DHCP server is usually a part of the router. When you come into the network, the router will look for an available IP address in its pool and assign it to you, so that your device can communicate with others without any conflict.
Dynamic allocation of IP addresses is a great advantage for both end-users and network admins. But sometimes you would need to have some control in order to manage and troubleshoot your network more efficiently.